
Build A Golem Mining Loop
Park a miner, expand plots, spend Cash on better limbs, repeat while offline ticks stack.
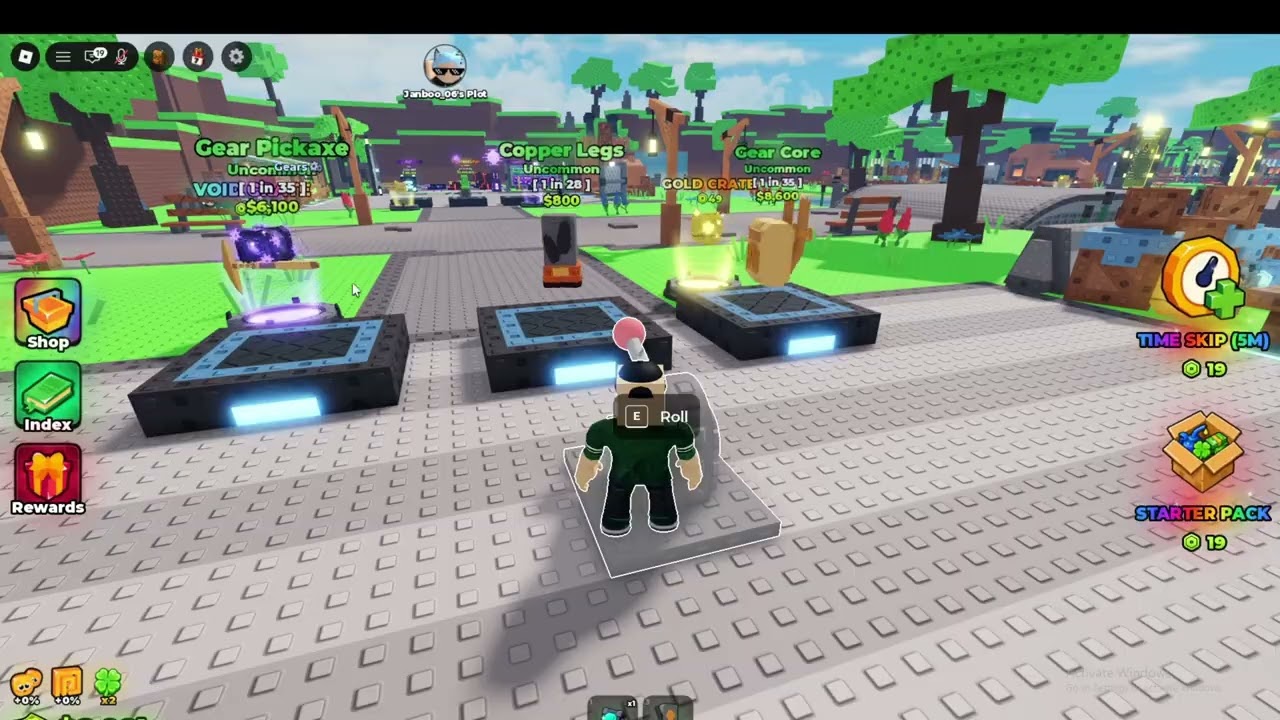
Once a golem walks, Build A Golem becomes a plot manager. Cash per second is the only score that matters. The official thumbnail sells the fantasy: dirt miner at $5/s versus a crystal miner at $953,274/s. You will not hit the right-hand number on day one. You will hit it by feeding the same loop: better body, more plots, upgrades, Time Skips, log off.
This guide assumes you already snapped a body using how to build. If not, go back.
Plots and placement
Each finished golem occupies an ore plot. Empty plots produce nothing. If you craft a second body, you need a second plot. Unlocking extra plots is the first expansion after the tutorial hole. Do not leave a crafted miner in inventory “for later.” Later is $0.
Place the highest Cash/s body on the best available zone. If a new ore zone costs Cash, buy it when your current miner would recoup the price inside one offline session. If it would take a week of dirt ticks, keep saving.
Ore zones and islands
As you spend, the map opens extra ore zones and islands. Think of them as higher-rent mines, not new crafters. The crafter stays at spawn. You walk or menu-travel to the new hole, park a stronger golem, and let it tick. Auto-unlock tools exist in scripts, but a manual buy is safer until you know the price curve.
Islands are the mid-game gate. If a shop row says Island and you still run a dirt body, buy a better torso first. A new island with a $5/s miner is a prettier $5/s.
Upgrades that actually move $/s
You will see several upgrade families:
- Part swaps — replace dirt with crystal or later cores. Biggest jump.
- Luck — more rare rolls in the shop. See luck.
- Crystal / charger style upgrades — named on automation tools because they exist as spend sinks. Buy them after the body is complete.
- Gear — extra items from the shop or airship-style offers. Apply gear to the working miner, not to a pile of spare legs.
There is no public spreadsheet of every upgrade cost at launch. Use a simple rule: if an upgrade costs more than thirty minutes of current $/s, skip it unless it unlocks a plot.
Time Skips and Robux packs
THANKS is a 15-minute skip. The HUD Time Skip (5M) is a 5-minute Robux skip. Both advance plot time. Neither rolls parts. Use skips when a strong miner is already placed. Stacking skips on dirt is a waste of a launch key.
Starter Pack is a Robux crate, not a plot unlock. Open it after you understand Index so you do not sell a rare piece by accident.
Cash routing
- Keep one complete miner working at all times.
- Bank Cash until you can replace the weakest limb or unlock a plot — not both if it empties you.
- Recheck codes after patches.
- Log off on a full plot so overnight ticks pay for the next island.
The golem builds page tells you which limb to replace first. The starter checklist is the same loop as a punch list.
Do not confuse this with Army island rebirths. You are not resetting a war tycoon. You are widening a mine.
Frequently Asked Questions
Quick answers for rolling parts, crafting golems, and claiming cash.
How do I earn Cash faster?
Place a complete miner, replace dirt limbs, unlock extra plots, then use Time Skips.
Should I buy an island or a better golem first?
Better golem. A new island with a dirt miner still pays dirt rates.
Do empty plots earn anything?
No. Crafted bodies sitting in inventory also earn nothing.
When do I use THANKS?
After a miner is on a plot. Skipping an empty hole wastes the 15 minutes.